Chicken Coop Interior Ideas: 2025 Layout & Design Guide🐔 CoopCraftsPro
📌 Save these chicken coop interior ideas for later → Follow us on Pinterest
Design Guide · Updated 2025
Chicken Coop Interior Ideas: The Complete Layout Guide
From nesting boxes to dropping boards — practical chicken coop interior ideas that make daily care easier and your flock healthier.⬇ See The Layout Plan
The exterior of a coop gets all the attention in photos, but it’s the interior that determines whether your daily chores take five minutes or forty-five. Good chicken coop interior ideas focus on one thing above all: making the space work for both the chickens and the person who has to clean it.
This guide walks through every functional zone of a coop interior — nesting boxes, roosts, flooring, ventilation, and storage — with practical chicken coop interior ideas you can apply whether you’re designing from scratch or retrofitting an existing structure.
Need a full blueprint to build around? Browse our complete coop plans before you finalize your interior layout.
Key Takeaways
- Nesting boxes work best dark, private, and slightly elevated off the floor.
- Roosting bars should sit higher than nesting boxes to match natural chicken behavior.
- Removable dropping boards cut weekly cleaning time dramatically.
- Smart flooring choices make sanitation faster and reduce parasite risk.
- Good interior ventilation is just as important as exterior weatherproofing.
Planning the Overall Layout
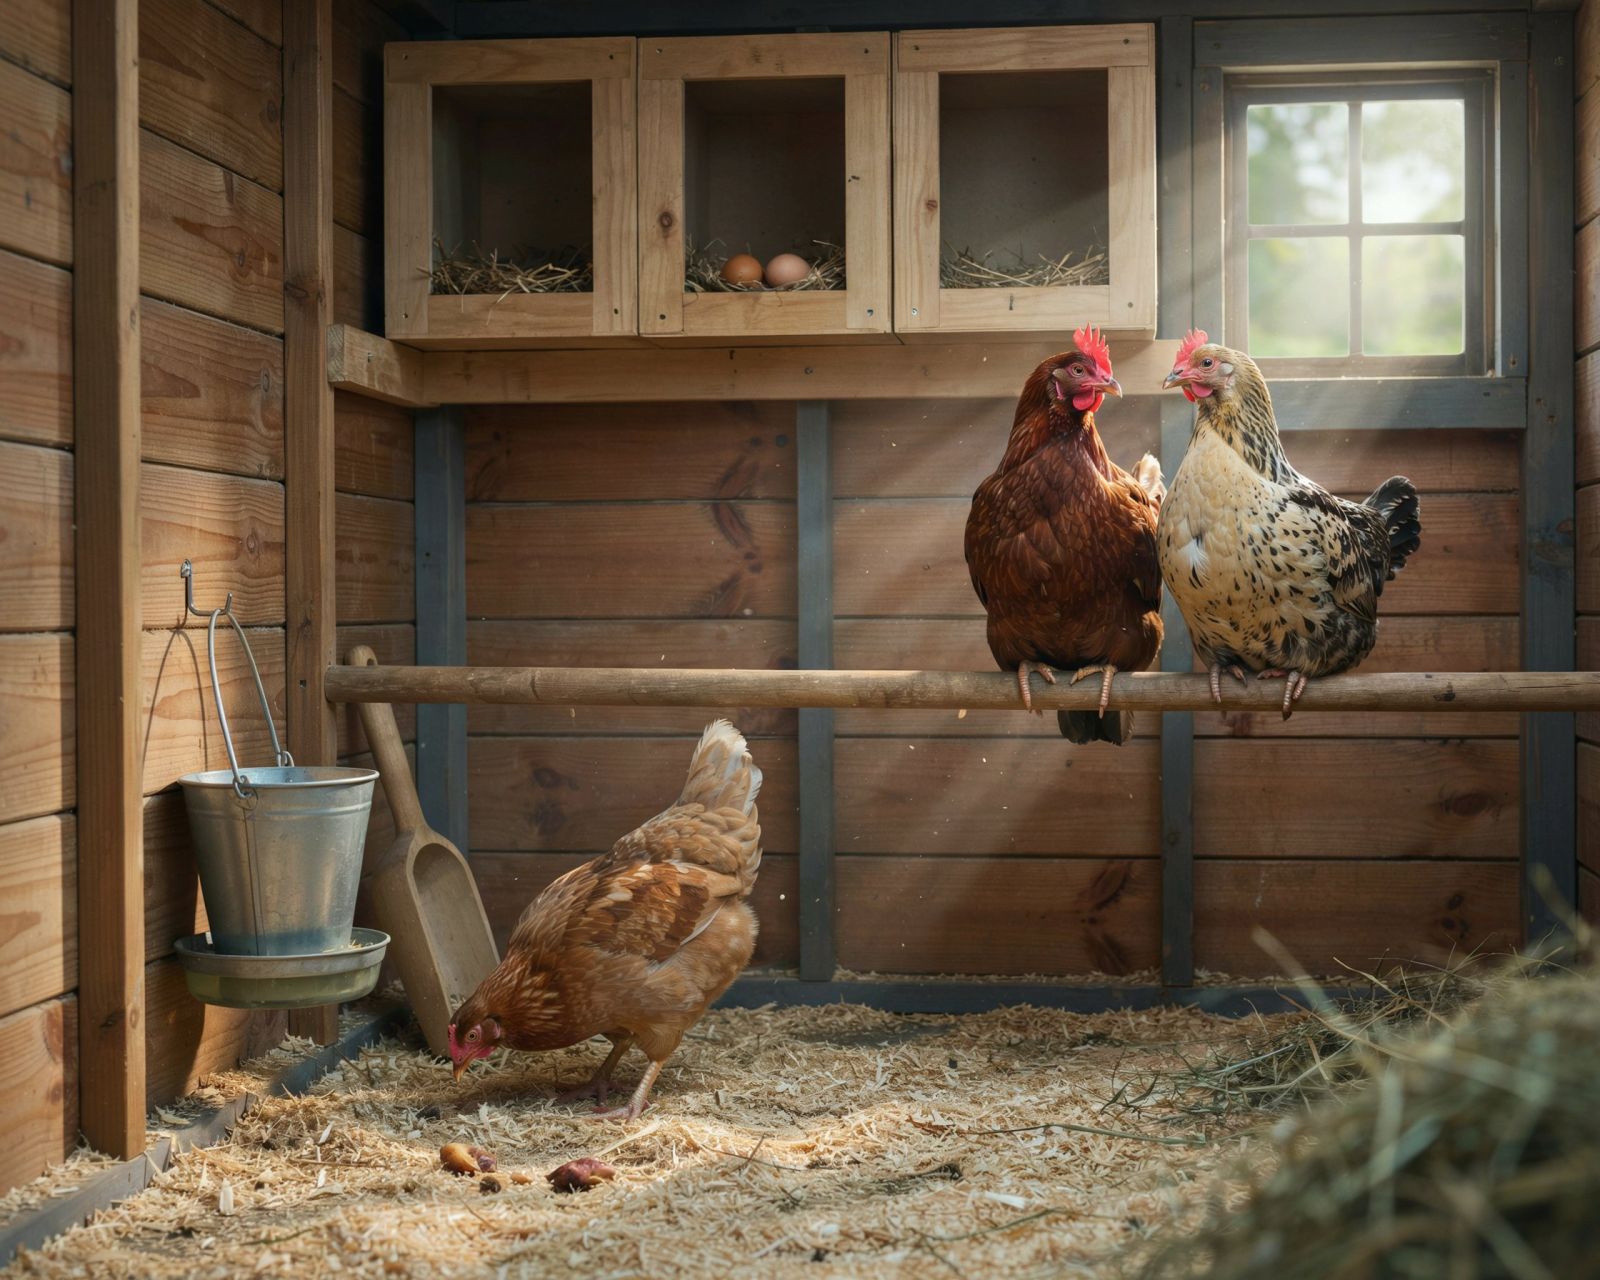
Before picking individual features, it helps to map the interior into zones. Most successful chicken coop interior ideas divide the space into three areas: a sleeping zone with roosts, a laying zone with nesting boxes, and a floor zone for feeding, dust bathing, and general movement.
Mapping Zones to Square Footage
For a coop housing 4-6 hens, a rough split looks like this: roosting zone along the back wall, nesting boxes along one side wall, and the remaining open floor for movement and feed stations.
| Zone | Approx. Share of Space | Purpose |
|---|---|---|
| Roosting area | 30% | Nighttime sleeping |
| Nesting boxes | 15% | Egg laying |
| Open floor | 55% | Movement, feeding, dust baths |
Nesting Box Ideas That Actually Work
Nesting boxes are one of the most photographed elements in chicken coop interior ideas online, but function matters more than looks here. Hens prefer dark, enclosed, slightly cramped spaces — the opposite of what looks best in a styled photo.
Sizing and Placement
A standard nesting box measures roughly 12x12x12 inches, with one box provided for every 4-5 hens. Mount boxes at least 18 inches off the floor, away from drafts and direct sunlight, which can discourage laying.
Materials and Liners
Plywood boxes lined with pine shavings or shredded paper are the simplest chicken coop interior ideas to execute. Add a small lip at the front of each box to keep bedding from being scratched out onto the floor.
External Access Boxes
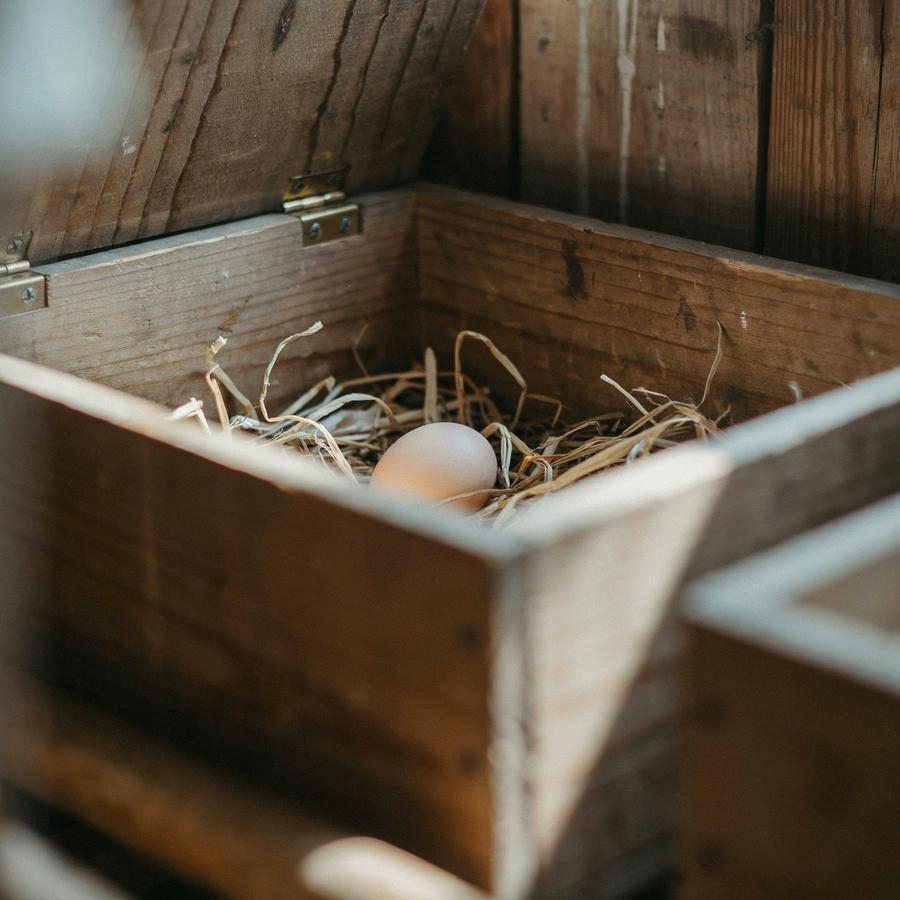
One of the most practical chicken coop interior ideas for daily convenience is building nesting boxes that open from outside the coop. This lets you collect eggs without stepping inside, keeping the interior cleaner and saving time.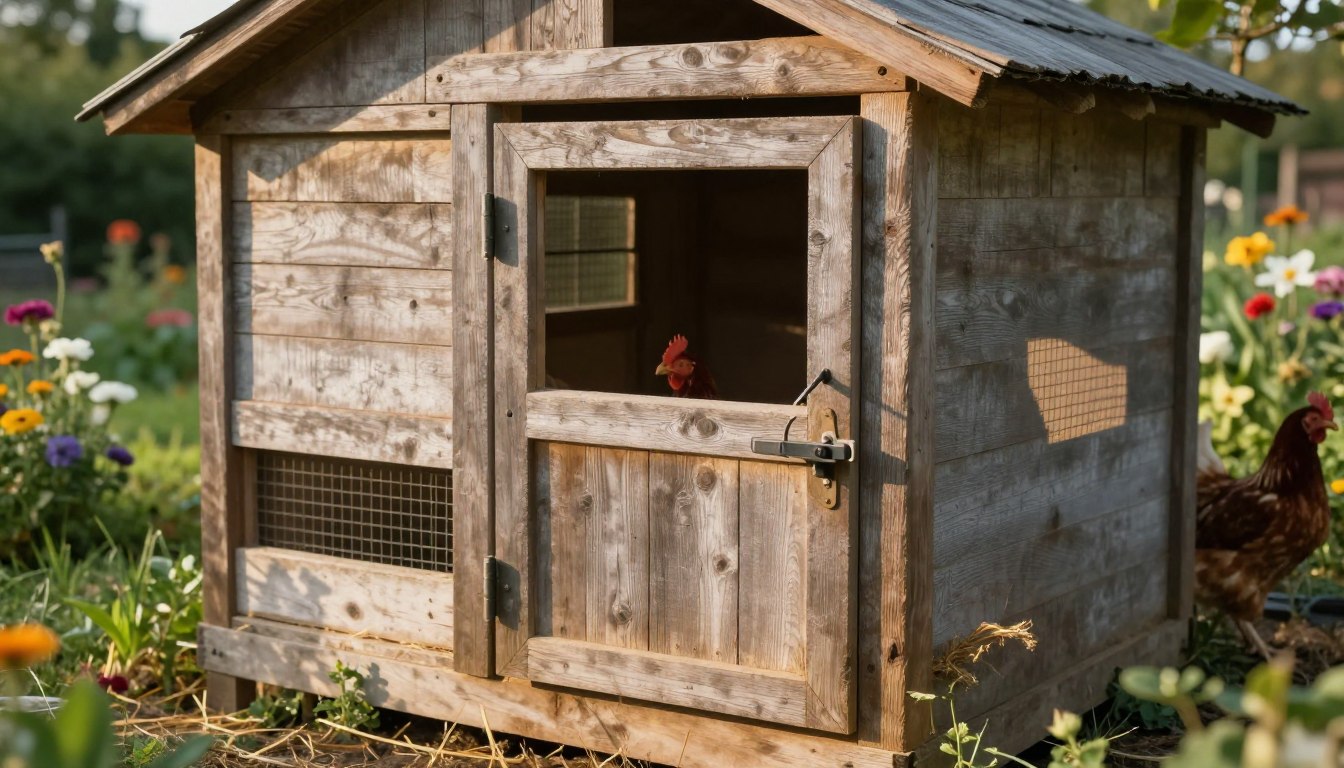 roosting bars layout”>
Roosting Bar Placement
Chickens instinctively want to sleep on an elevated perch, and getting this detail right is central to good chicken coop interior ideas. Bars set too low or too close together lead to crowding, pecking, and unclean roosts.
Height and Spacing
Set roosting bars 2-3 feet above the floor, always higher than the nesting boxes, so hens aren’t tempted to sleep — and defecate — inside the boxes meant for eggs.
| Feature | Recommended Height | Spacing per Bird |
|---|---|---|
| Roosting bars | 2-3 ft | 8-10 inches |
| Nesting boxes | 18+ inches | 1 box per 4-5 hens |
Bar Material
Rounded wooden dowels or sanded 2×4 lumber work best. Avoid metal or perfectly smooth round dowels, which are harder for chickens to grip securely overnight.
Dropping Boards: The Underrated Feature
Of all chicken coop interior ideas, dropping boards offer the best return on a small amount of effort. Placed directly beneath the roosts, they catch the majority of nighttime waste before it reaches the floor.
“A removable dropping board under the roost turns a daily scrub into a five-minute scrape — it’s the single highest-impact upgrade in any coop interior.”
Materials That Make Cleaning Easy
Smooth, non-porous materials like sealed plywood or thin sheet metal work best. A simple coat of fine sand or food-grade diatomaceous earth on top makes waste even easier to scrape away.
Flooring Options for the Interior
Floor choice shapes almost every other decision in chicken coop interior ideas, from how often you clean to how much bedding you go through each month.
| Flooring | Maintenance | Best For |
|---|---|---|
| Bare plywood | High | Budget builds |
| Linoleum/vinyl over plywood | Low | Easy sanitation |
| Deep litter bedding | Moderate | Composting, winter insulation |
For more on subfloor materials and lumber grades, the Family Handyman flooring guide is a useful free reference.
🐔 Want the Full Blueprint?
Browse our complete coop plans with material lists, sized for every flock size and layout style.Shop Plans Now →
Ventilation Inside the Coop
Interior airflow rarely gets credit in chicken coop interior ideas posts, yet it directly affects how dry your bedding stays and how strong ammonia smells become between cleanings.
Placing Vents Above Roost Height
Vents positioned near the roofline let warm, moist air escape naturally without creating a direct draft on roosting birds. Cross-ventilation between opposite walls keeps air moving evenly through the whole interior.
Covering Vents Safely
Always cover interior-facing vents with hardware cloth rather than fine screen, which predators can chew through from outside in minutes.
Feed and Water Station Ideas
Where you place feeders and waterers inside the coop affects bedding cleanliness more than almost any other single decision among chicken coop interior ideas.
Hanging Feeders
Suspending feeders at roughly back height reduces spillage and keeps feed out of bedding, where it attracts rodents and goes to waste.
Keeping Water Off the Floor
Elevated waterers, set on a small platform or hung from a hook, prevent the constant splashing that turns nearby bedding damp and encourages mold.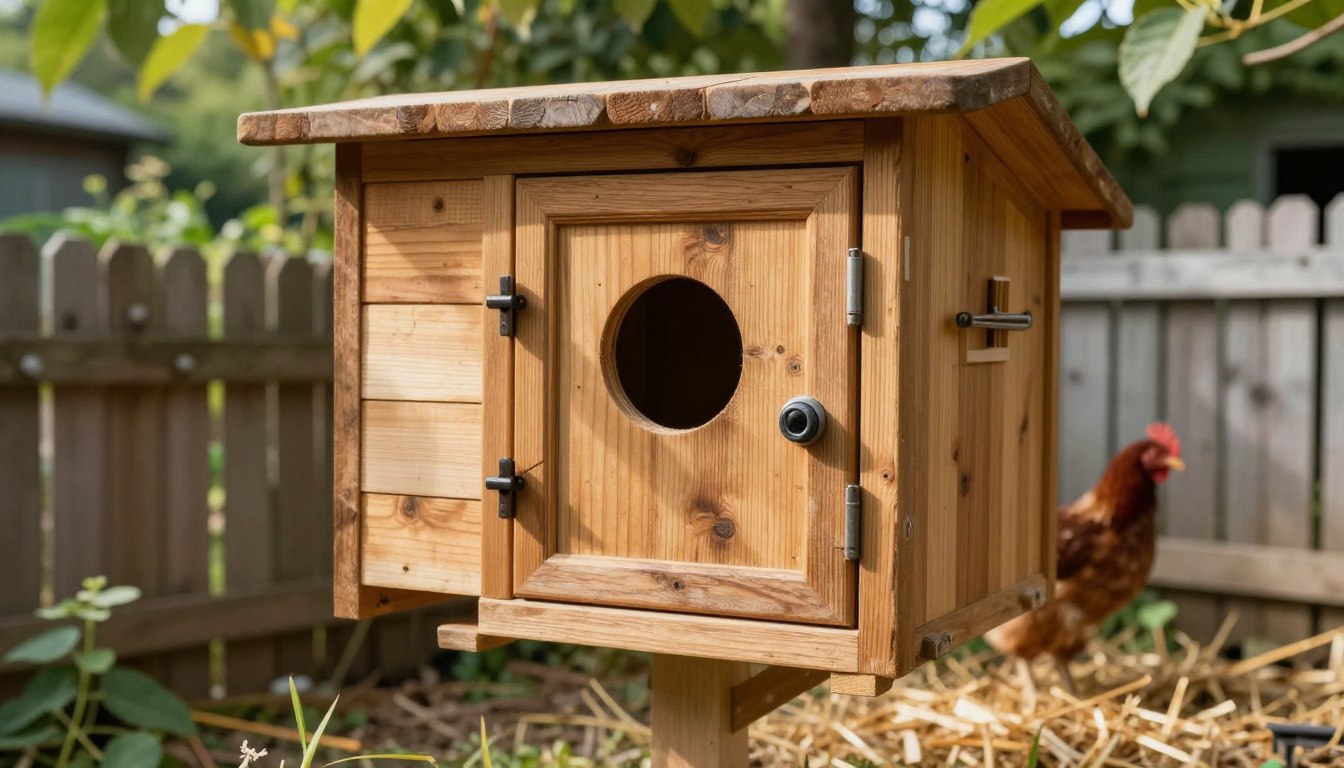
Storage and Organization Inside the Coop
A small dedicated storage shelf or bin for shavings, tools, and supplements is one of the simplest chicken coop interior ideas that experienced keepers add after their first season — usually because they got tired of walking back and forth to a shed.
- A wall-mounted shelf keeps scoops and supplements off the floor.
- A lidded bin for spare bedding prevents pest access.
- A small hook near the door holds a broom for quick daily sweeps.
Lighting Considerations
Natural light through a small window supports better visibility for daily chores and can be paired with supplemental lighting in winter to maintain egg production. Most chicken coop interior ideas recommend placing windows away from direct roost lines to avoid early-morning glare disturbing sleeping birds.
Color and Finish Choices
Light-colored interior paint or sealant on plywood walls reflects more light and makes it easier to spot dirt or pests during inspection. Among chicken coop interior ideas, a simple white or light gray interior finish is both practical and visually clean.
Common Interior Mistakes to Avoid
A few recurring mistakes show up across most struggling chicken coop interior ideas attempts, and avoiding them saves real time down the line.
- Placing nesting boxes higher than or level with roosting bars, encouraging hens to sleep in the boxes.
- Skipping dropping boards entirely, turning every cleaning session into a full floor scrub.
- Using porous, untreated wood for flooring that absorbs moisture and odor over time.
- Positioning feeders directly under roosts, where droppings constantly contaminate the feed.
- Sealing the interior too tightly, trapping ammonia instead of venting it out.
Seasonal Interior Adjustments
Smart chicken coop interior ideas account for the season, not just a single fixed layout. Bedding depth, ventilation gaps, and feeder placement all benefit from small seasonal tweaks.
| Season | Interior Adjustment |
|---|---|
| Summer | Reduce bedding depth, maximize cross-ventilation |
| Winter | Deepen litter bedding, partially close low vents |
| Spring | Full clean-out, inspect for mites in roost joints |
| Fall | Check dropping boards and tighten loose hardware |
Choosing Wall and Ceiling Finishes
Interior surfaces don’t get much attention in most chicken coop interior ideas guides, yet the finish on your walls and ceiling affects both cleaning time and how quickly pests can establish themselves.
Sealed vs. Bare Wood
Bare plywood walls absorb moisture and odor over time, making them harder to sanitize during deep cleans. Sealing interior walls with a simple exterior-grade paint or polyurethane creates a smoother, wipeable surface — one of the easiest chicken coop interior ideas to retrofit into an existing coop.
Ceiling Height and Mite Control
Mites and lice tend to hide in cracks and joints near the ceiling line. Smooth, sealed ceiling boards with minimal gaps make these pests far easier to spot and treat during routine inspections.
Designing for Multiple Flock Sizes
Not every coop interior needs to handle the same number of birds, and good chicken coop interior ideas scale the layout up or down depending on flock size rather than using a single fixed template.
| Flock Size | Nesting Boxes | Roost Length | Floor Space |
|---|---|---|---|
| 3-4 hens | 1 box | 3 ft | 16 sq ft |
| 6-8 hens | 2 boxes | 6 ft | 28 sq ft |
| 10-12 hens | 3 boxes | 9 ft | 44 sq ft |
Scaling the interior this way keeps every bird within the recommended space guidelines without forcing you to redesign the whole layout each time your flock grows.
Interior Predator-Proofing Details
Most predator-proofing advice focuses on the exterior, but a few interior-facing chicken coop interior ideas matter just as much once a determined animal breaches the outer wall.
Securing Interior Vent Covers
Interior-facing vent covers should be screwed, not stapled, into the frame. Staples pull loose far more easily under sustained pressure from a raccoon or weasel trying to widen a gap.
Reinforcing Nesting Box Backs
If nesting boxes open from the outside for easy egg collection, make sure the interior-facing panel is just as solid as the exterior door. This back panel is often the weakest point in an otherwise secure structure.
Adapting Interior Ideas for Small Coops
Compact coops need every one of their chicken coop interior ideas to multitask. A single piece of furniture or fixture often needs to serve two purposes when square footage is tight.
- Stack nesting boxes vertically with a small ramp instead of spreading them along a wall.
- Use the underside of roosting bars as a mounting point for a removable dropping board.
- Hang feeders and waterers from the ceiling instead of using floor-standing units.
Interior Ideas for Larger Walk-In Coops
Walk-in coops open up chicken coop interior ideas that simply don’t fit in smaller builds, since you have headroom and floor space to work with that a compact coop can’t offer.
Central Aisle Layout
A central walking aisle with nesting boxes and roosts along each side wall makes daily maintenance dramatically faster, since you never have to crouch or reach over equipment to access any single feature.
Dedicated Brooding Corner
Larger interiors have enough space to section off a small brooding area for chicks or sick birds, separated by a simple wire partition — a layout option that smaller chicken coop interior ideas can’t accommodate.
Budget-Friendly Interior Upgrades
You don’t need a full rebuild to apply better chicken coop interior ideas to an existing coop. Several upgrades cost under $30 and can be completed in an afternoon.
| Upgrade | Approx. Cost | Time to Install |
|---|---|---|
| Removable dropping board | $15-25 | 1 hour |
| Vinyl floor covering | $20-30 | 2 hours |
| External-access nesting box panel | $10-20 | 1-2 hours |
| Wall-mounted storage shelf | $10-15 | 30 minutes |
Final Interior Checklist
Before considering your interior finished, run through this short checklist of chicken coop interior ideas covered throughout this guide.
- Nesting boxes are dark, lined, and positioned lower than the roosting bars.
- Roosting bars are 2-3 feet high with adequate spacing per bird.
- A removable dropping board sits under the roosts.
- Flooring is sealed or covered for easy sanitation.
- Vents sit near the roofline and are covered with hardware cloth.
- Feeders and waterers are elevated and positioned away from roosts.
Interior Ideas by Climate
Not every region needs the same chicken coop interior ideas. A layout that keeps a coop cool in Arizona can leave birds shivering in Minnesota, so it’s worth tailoring a few interior choices to your local climate.
Hot, Dry Climates
In hot regions, prioritize open roost spacing and shaded floor zones over insulation. Light-colored interior finishes reflect heat better than dark wood tones, and a slightly raised floor improves airflow underneath the structure.
Cold, Wet Climates
Cold-climate chicken coop interior ideas lean toward deeper litter bedding for natural insulation, smaller vent gaps near floor level, and roosts positioned away from drafty wall seams.
Humid Climates
In humid areas, prioritize non-porous flooring and frequent bedding changes over deep litter methods, since high ambient moisture slows the natural composting process that deep litter relies on.
Interior Ideas for Multi-Level Coops
Some builders design coops with a raised sleeping loft above ground-level nesting and floor space — a layout that opens up a different set of chicken coop interior ideas entirely.
Loft Roosting
A raised loft keeps roosting birds further from floor-level drafts and predators that may have breached the outer wall. Access ramps should be wide enough for birds to climb comfortably without crowding.
Ground-Level Nesting
Keeping nesting boxes at ground level while roosts sit in a loft above maintains the natural hierarchy hens expect — sleeping high, laying low — without requiring a larger building footprint.
Working With an Existing Structure
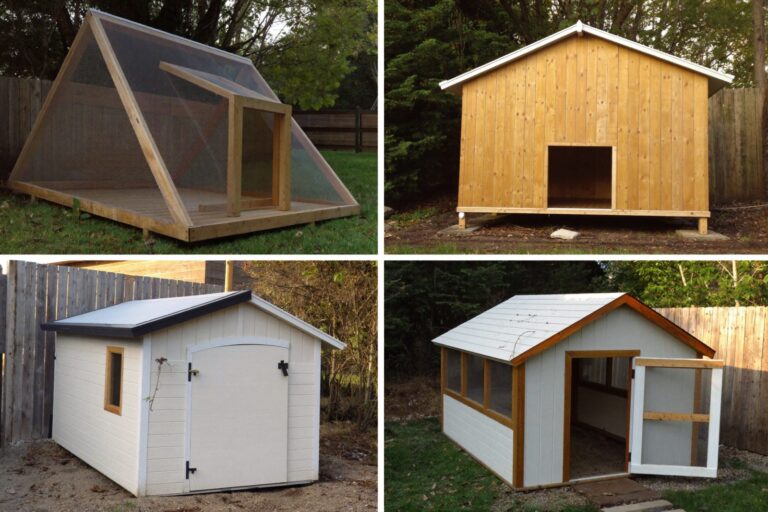
Many keepers don’t build from scratch — they convert a shed or playhouse, which means applying chicken coop interior ideas within constraints rather than designing freely.
- Measure existing headroom before committing to a roost height, since converted structures often have lower ceilings than purpose-built coops.
- Check existing floor material for rot or gaps before adding new flooring on top.
- Add vents if the structure wasn’t originally designed for livestock — most sheds have far less airflow than a coop needs.
Conclusion
The best chicken coop interior ideas aren’t the most decorative ones — they’re the ones that make your daily five minutes of chores actually take five minutes. Get the nesting box placement, roost height, dropping boards, and flooring right, and the rest of the interior mostly takes care of itself.
Ready to build the structure around this layout? Check out our easy DIY chicken coop plans with run, or read more on the blog for additional design guides.
Frequently Asked Questions
How many nesting boxes do I need inside the coop?
Plan for one nesting box per 4-5 hens. Most chicken coop interior ideas recommend keeping boxes slightly cramped and dark, since hens prefer cozy, enclosed spaces for laying over large open ones.
Should roosting bars be higher than nesting boxes?
Yes, always. Chickens naturally seek the highest available perch to sleep on. If roosts sit lower than or level with nesting boxes, hens will sleep — and defecate — in the boxes meant for eggs.
What’s the easiest flooring to clean inside a coop?
Linoleum or vinyl glued over a plywood subfloor is widely considered the easiest among chicken coop interior ideas, since the non-porous surface can be scraped and wiped instead of scrubbed.
Do I really need dropping boards?
They aren’t strictly required, but they dramatically reduce cleaning time. A removable board under the roost catches most nighttime waste, turning a full floor clean into a quick weekly scrape.
Where should feeders and waterers go inside the coop?
Keep them away from the roosting area to avoid contamination from droppings, and elevate waterers slightly to prevent spillage from soaking nearby bedding.