Chicken Coop Ventilation in Winter: How to Stop Frostbite Before It Starts
Last updated: August 2, 2026 · CoopCraftsPro
Short answer: A chicken coop needs roughly 1 square foot of open vent area per bird in winter, positioned above roost height. Frostbite is caused by humidity trapped inside the coop, not by cold air itself. Ventilation must carry moist air out without creating a draft across roosting birds.
Every winter, thousands of backyard chicken keepers make the same well-meaning mistake: they seal up the coop to keep their hens warm. A few weeks later they find blackened comb tips and swollen wattles, and they assume the cold did it.
It did not. Moisture did. Frostbite in a backyard flock is almost always a ventilation problem wearing a cold-weather disguise, and it is one of the most preventable problems in chicken keeping.
Why Cold Is Not What Hurts Chickens
Chickens are far better equipped for winter than most people assume. A healthy hen wears a down coat she grew herself, and she tucks her feet under her body and her head under her wing to protect the bare parts. Breeds like Orpingtons, Wyandottes, and Plymouth Rocks handle sub-freezing nights without complaint.
What she cannot handle is damp cold. Here is the chain of events that damages a flock:
- Chickens breathe all night, and each bird releases a surprising amount of water vapor.
- Droppings release still more moisture as they sit under the roost.
- In a sealed coop, that warm wet air has nowhere to go.
- The moist air hits the cold ceiling and walls and condenses.
- Water settles on combs, wattles, and toes while the birds sleep.
- Temperature drops, the moisture freezes, and the tissue is damaged.
A dry coop at 10°F is safer than a damp coop at 30°F. That single sentence is the whole principle. As the Poultry Extension program notes, humidity control is the central task of cold-weather poultry housing.
Extension guidance on small-scale poultry housing makes the same point: ventilation is what removes moisture and airborne ammonia, and it has to keep working through winter.
How Much Winter Ventilation Does a Coop Need?
The working standard used by experienced keepers is roughly 1 square foot of open vent area per bird, kept open all winter.
That number surprises people. For a six-hen flock, that is about 6 square feet of permanent opening in a coop that might only be 4 feet by 6 feet. It feels like far too much. It is not.
| Flock size | Minimum vent area | Practical layout |
|---|---|---|
| 3-4 hens | 3-4 sq ft | Two 12″ x 24″ gable vents |
| 5-6 hens | 5-6 sq ft | Full-length soffit gap, both sides |
| 8-10 hens | 8-10 sq ft | Soffit gaps plus two gable vents |
| 12+ hens | 12+ sq ft | Continuous ridge or soffit venting |
Every opening gets covered with 1/2-inch hardware cloth. Ventilation openings are a predator entry point if you leave them bare, and a raccoon will happily use a vent you built for airflow.
Where the Vents Go Matters More Than How Many
This is where most winter coops fail. The rule is simple:
Vents belong high, above the birds’ heads. Never at roost level.
The distinction people miss is the difference between ventilation and a draft:
- Ventilation is air moving out above the roosting birds, carrying humidity and ammonia with it. This is what you want, all winter, every night.
- A draft is cold air moving across the birds, stripping the insulating layer of warm air trapped in their feathers. This is what harms them.
Warm wet air rises on its own. Give it an exit near the roofline and it leaves, pulling fresh air in low behind it. Your birds sit in still air below while the moisture escapes above them.
The roost-height rule
Measure from the top of your roost bar to the ceiling. You want your vents in that space, ideally at least 12 to 18 inches above the highest bird’s head. If a vent sits level with or below the roost, close it for winter and move it up.
How to Add Winter Ventilation to an Existing Coop
You do not need to rebuild. Most coops can be corrected in an afternoon.
Option 1: Open the soffits
The gap where the roof overhangs the wall is the easiest ventilation you will ever add. Cut or open a continuous 2 to 3 inch gap along the top of the long walls, on both sides, and staple hardware cloth over it. The roof overhang keeps rain and snow out while air moves freely.
Option 2: Cut gable vents
On a coop with A-frame or peaked ends, cut a triangular or rectangular opening high in each gable end. Cover with hardware cloth. Cross-ventilation through both ends clears humidity fast.
Option 3: Build a covered vent hood
If wind-driven snow is a problem, frame a small hood over the opening: a piece of plywood angled down and out over the vent, open at the bottom. Air escapes, weather stays out.
Option 4: Raise the roof line
On a shed-roof coop, adding a 2-inch spacer between the top plate and the roof creates a continuous vent strip along the entire high wall. Screen it and you are done.
The Insulation Mistake That Makes Everything Worse
Insulating a coop is not wrong on its own, but it becomes dangerous the moment it is used as a reason to close the vents. Insulation slows heat loss through the walls. It does nothing to remove water vapor.
A tightly insulated, tightly sealed coop is the worst possible combination: it holds warmth long enough for the air to load up with moisture, then that moisture condenses on every cold surface. Keepers who insulate and seal usually see more frostbite, not less.
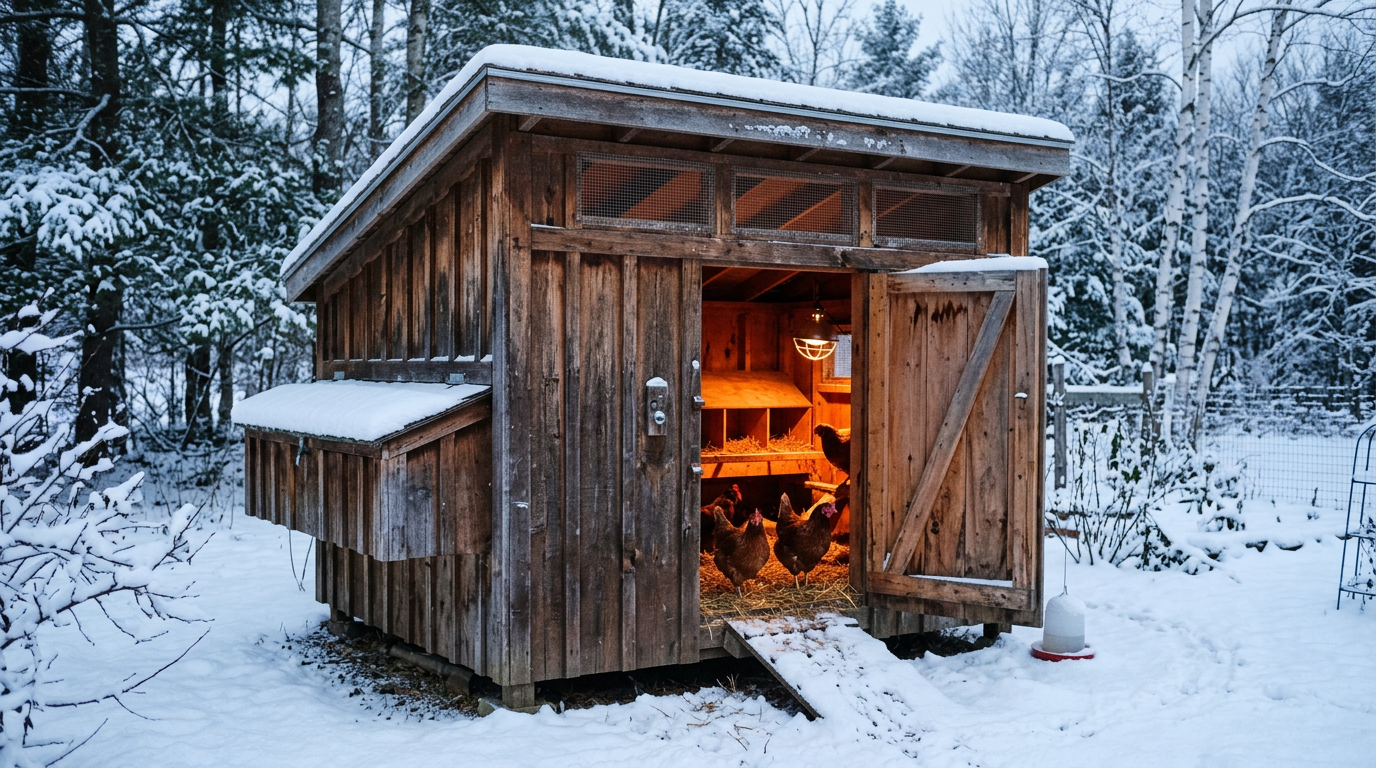
If you insulate, keep every vent open. And skip the heat lamp. Heat lamps are the leading cause of coop fires, they raise humidity, and they leave your flock unacclimated and vulnerable if the power fails on the coldest night of the year.
Five Signs Your Coop Has a Moisture Problem
- Frost on the inside of the walls or ceiling in the morning. Water vapor is condensing and freezing indoors.
- Damp or matted bedding that clumps instead of staying loose and dry.
- An ammonia smell when you open the door. If you can smell it at standing height, it is far stronger down at bird level.
- Condensation on the windows from the inside.
- Black tips on combs or wattles – frostbite that has already happened.
Any one of these means you need more open vent area, higher up.
Your Winter Coop Checklist
- Vent area of about 1 square foot per bird, open all winter
- All vents positioned above roost height, screened with 1/2-inch hardware cloth
- No air moving directly across roosting birds
- Deep, dry bedding; add fresh material rather than packing it down
- Droppings board under the roost, scraped often – this removes the single largest moisture source
- Wide, flat roost bars so hens can cover their toes with their bodies
- Liquid water available; a heated base is far safer than a heat lamp
- No heat lamp
Build It Right From the Start
Retrofitting ventilation works, but it is always easier to build a coop that vents correctly from day one – with the roof pitch, soffit gaps, and vent placement designed in rather than cut in later.
Frequently Asked Questions
How much ventilation does a chicken coop need in winter?
Plan for about 1 square foot of open, screened vent area per bird, kept open all winter. For a six-hen flock that is roughly 6 square feet of permanent opening. Every vent should be covered with 1/2-inch hardware cloth.
Should I close the coop vents in winter to keep chickens warm?
No. Closing vents traps the moisture chickens exhale overnight, and that moisture condenses on combs and toes and freezes. A dry coop at 10°F is safer than a damp coop at 30°F.
Why is there frost on the inside of my chicken coop?
Interior frost means water vapour is condensing and freezing indoors, which is a direct sign of inadequate ventilation. Add more open vent area high on the walls, above the level of the roosting birds.
Does insulating a coop prevent frostbite?
Not on its own, and it makes things worse if you seal the vents to do it. Insulation slows heat loss but removes no moisture. An insulated, sealed coop usually produces more frostbite, not less.
Do chickens need a heat lamp in winter?
No. Heat lamps are the leading cause of coop fires, they raise humidity, and they leave birds unacclimated if the power fails. Healthy adult hens handle sub-freezing temperatures in a dry, draft-free coop.
Get the ventilation right and winter stops being something you worry about. Your hens will walk out into the snow, complain about it, and go right on laying.