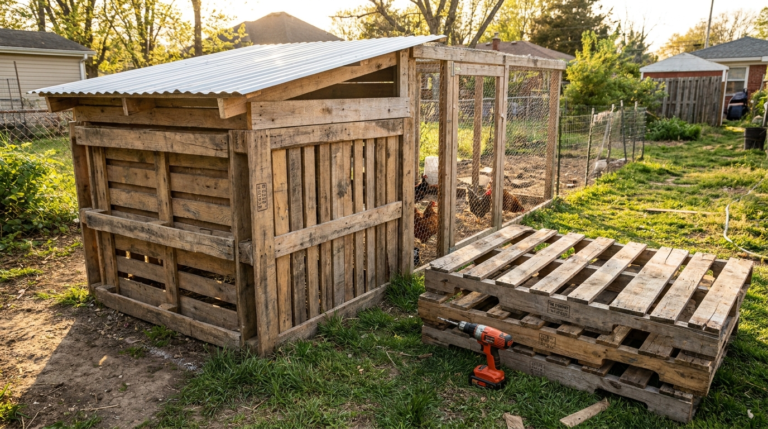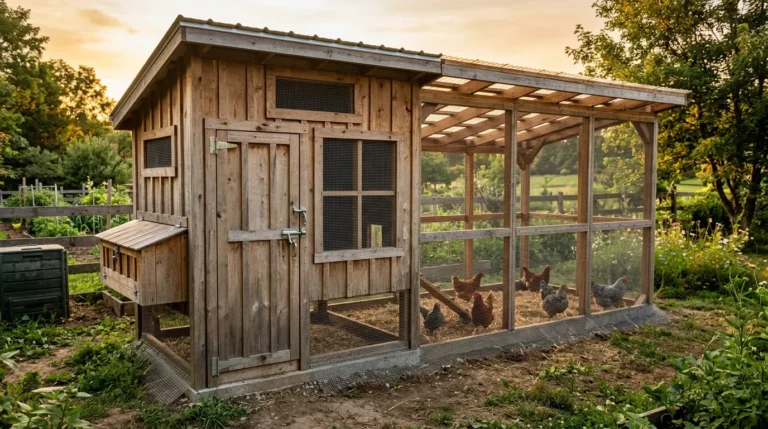
Do It Yourself Chicken Coop Plans: The Complete 2026 Building Guide
Do It Yourself Chicken Coop Plans: The Complete Building Guide
Everything you need to build a sturdy backyard coop on your own — framing, materials, roofing, ventilation, and predator-proofing, explained step by step.⬇ Get Free PDF Plans

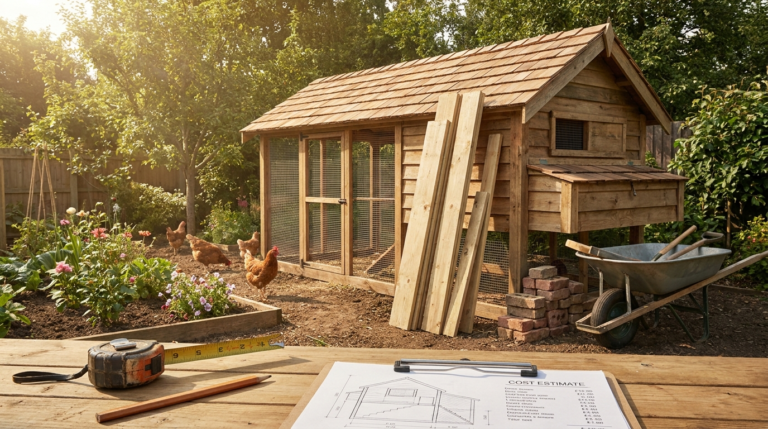
Building your own backyard flock shelter is one of the most satisfying projects a homesteader can take on. With the right do it yourself chicken coop plans, you don’t need a contractor, a big budget, or years of carpentry experience — just a clear set of steps and the willingness to follow them.
This guide walks you through every stage of the process, from picking a location to securing the finished structure against predators. Whether you’re keeping three hens or fifteen, these do it yourself chicken coop plans scale to fit almost any backyard.
We’ll also cover the exact tools, lumber, and hardware professional builders rely on, so your first attempt looks like it wasn’t your first attempt. Need a head start? Grab our downloadable coop plans before you read on.
Key Takeaways
- Anyone can follow do it yourself chicken coop plans with basic tools and a weekend of work.
- Proper sizing prevents overcrowding, stress, and disease in your flock.
- Pressure-treated lumber and galvanized hardware are non-negotiable for longevity.
- Predator-proofing is the single most important safety feature of any coop.
- Good ventilation keeps your birds healthy through every season.
Why Choose Do It Yourself Chicken Coop Plans Over a Kit
Pre-built coop kits look convenient, but most are made from thin materials that won’t survive a real Midwest winter or a determined raccoon. Following do it yourself chicken coop plans instead lets you choose every board, every screw, and every joint yourself.
It’s also significantly cheaper. A solid DIY build typically costs 40-60% less than an equivalent retail kit, and you end up with a structure sized exactly for your flock instead of a generic one-size-fits-all box.
Planning Before You Build
Every good set of do it yourself chicken coop plans starts on paper, not in the lumber yard. Skipping this step is the number one reason backyard builds run over budget or fall apart within a year.
Sizing the Coop to Your Flock
Plan for at least 4 square feet of interior space per bird, plus 10 square feet of run space outside. Overcrowding is the leading cause of stress-related pecking and illness in backyard flocks.
| Flock Size | Interior Space | Run Space |
|---|---|---|
| 3-4 hens | 16 sq ft | 40 sq ft |
| 6-8 hens | 28 sq ft | 70 sq ft |
| 10-12 hens | 44 sq ft | 110 sq ft |
Choosing the Right Spot
Pick a site with natural drainage and partial sun. Standing water under a coop is the fastest way to rot a floor, and full shade keeps bedding damp year-round, which invites parasites.
Checking Local Rules
Before committing to any do it yourself chicken coop plans, check your city’s zoning code and, if relevant, your HOA bylaws. Many municipalities cap the number of hens allowed or require a minimum setback from property lines.

Tools and Materials You’ll Need
Good do it yourself chicken coop plans are only as strong as the materials behind them. Cutting corners here is the most common regret first-time builders mention.
| Item | Recommended Type | Why It Matters |
|---|---|---|
| Framing lumber | 2×4 kiln-dried | Straight, light, easy to work |
| Ground-contact wood | Pressure-treated | Resists rot and insects |
| Fasteners | Galvanized or stainless | Won’t rust in humid coops |
| Mesh | 1/2″ hardware cloth | Predators can’t tear it |
| Saw | Circular saw | Fast, accurate cuts |
| Driver | Impact driver | Drives long screws without stripping |
For a deeper dive into lumber grades, the Family Handyman lumber guide is a solid free reference for first-time builders.
Laying the Foundation
The foundation stage of any do it yourself chicken coop plans determines how long the structure lasts. A coop on a weak base will develop sagging doors and rotting joists within a few seasons.
Gravel vs. Concrete vs. Skids
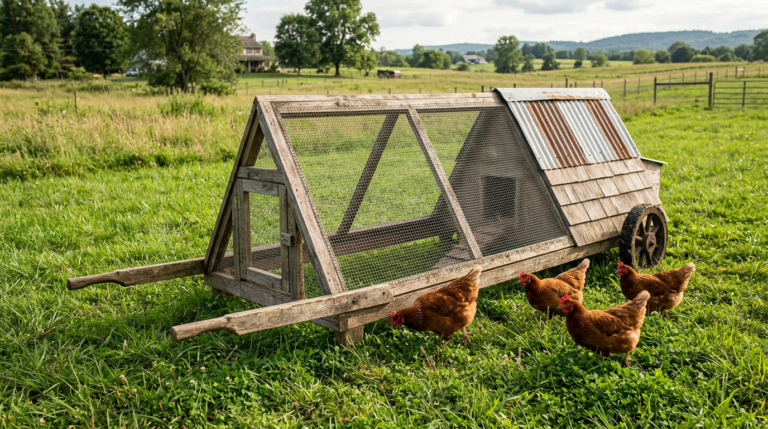
Gravel bases drain well and are cheap to install. Concrete slabs offer the best rodent-proofing but cost more and take longer to cure. Pressure-treated skids work well for portable designs and keep the floor joists off damp soil.
Leveling the Site
Use a long carpenter’s level across the entire footprint before you build anything on top of it. An uneven base causes binding doors and racked walls down the line — problems that are nearly impossible to fix after framing.
Framing the Structure
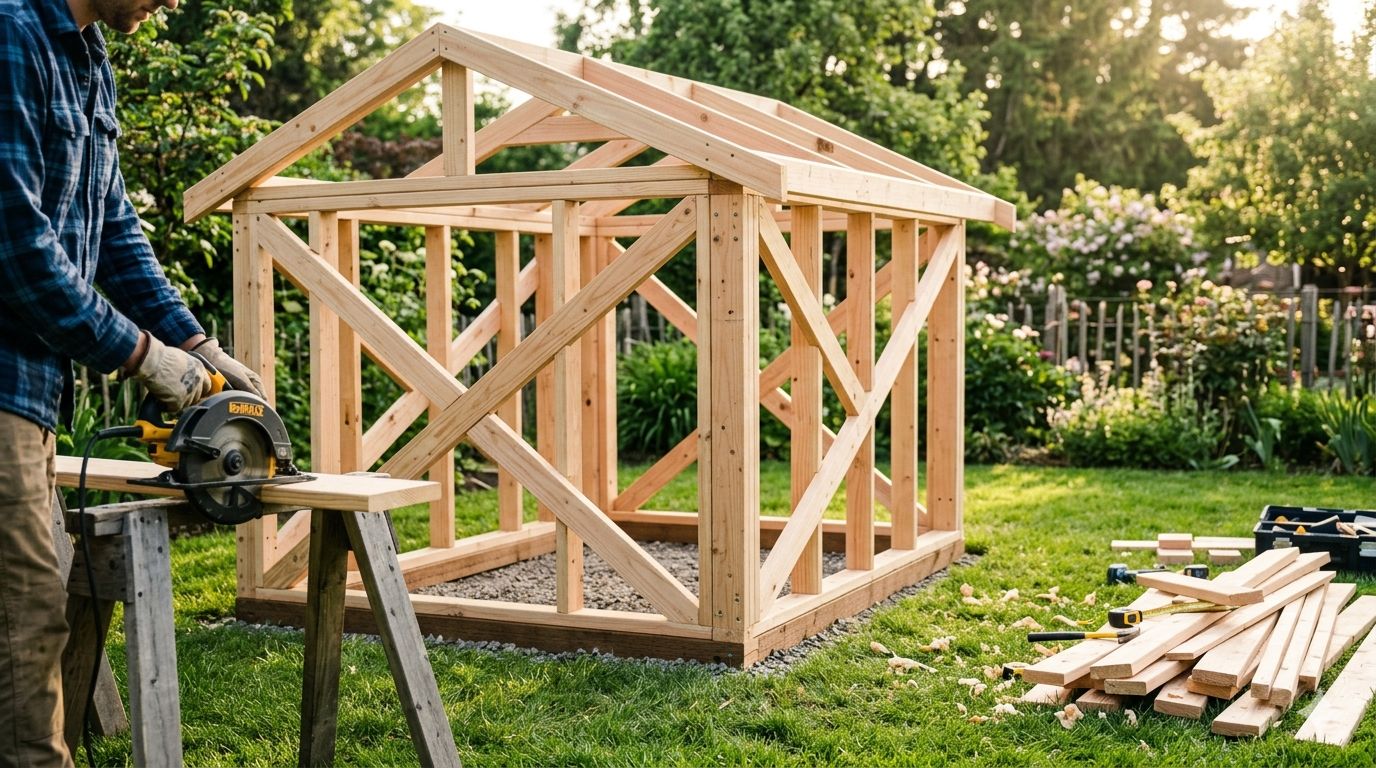
This is the heart of every set of do it yourself chicken coop plans. A square, well-braced frame is what keeps everything else — roof, siding, doors — working correctly for years.
A coop frame doesn’t need to be fancy. It needs to be square, braced, and built with fasteners that won’t rust loose in two years.
Standard Stud Spacing
Most backyard builders use 2×4 studs spaced 16 inches on center — the same standard used in residential framing. This spacing gives you a solid surface for attaching siding without using excess material.
Bracing for Wind and Snow
- Add diagonal corner braces on every wall section.
- Use metal hurricane ties where rafters meet the top plate.
- Double up headers over the door opening for extra rigidity.

Roofing and Weatherproofing
A shed-style roof is the easiest option for first-time builders following do it yourself chicken coop plans — one slope, simple cuts, and excellent water runoff. Gable roofs add headroom and ventilation but require more advanced framing.
| Roof Style | Difficulty | Best For |
|---|---|---|
| Shed | Easy | Beginners, small coops |
| Gable | Moderate | Extra ventilation |
| Lean-to | Easy | Attaching to existing structures |
Always add roofing felt or synthetic underlayment beneath your shingles or metal panels — it’s the layer that actually keeps water out if the top surface ever fails.
Interior Layout: Nesting Boxes and Roosts
No do it yourself chicken coop plans are complete without a thoughtful interior. This is where your daily chores get either easier or harder for years to come.
Nesting Boxes
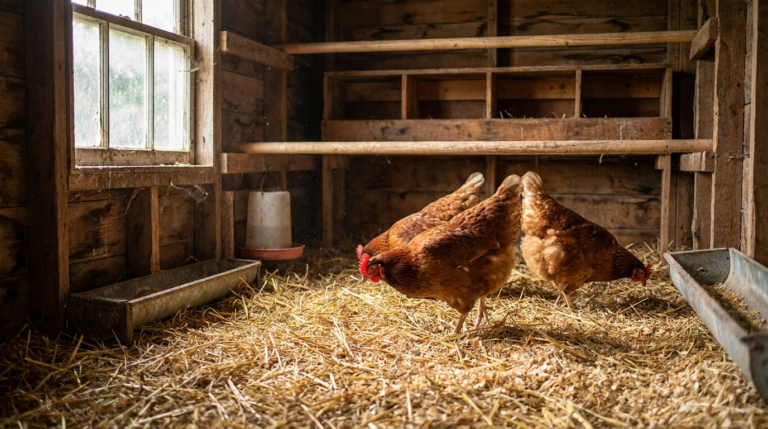
Provide one box for every 4-5 hens, mounted at least 18 inches off the floor, in a dim and quiet corner of the coop.
Roosting Bars
Set roosts 2-3 feet above the floor, with 8-10 inches of linear space per bird so they aren’t crowding each other at night.
| Feature | Height | Spacing Rule |
|---|---|---|
| Nesting Boxes | 18+ inches | 1 box per 4-5 hens |
| Roosting Bars | 2-3 feet | 8-10 inches per bird |
🐔 Get 5 Free Do It Yourself Chicken Coop Plans
Download ready-to-build plans with complete material lists — sized for small and medium flocks.Shop Plans Now →
Ventilation Without Drafts
Place vents near the roofline so warm, moist air and ammonia escape on their own. Cross-ventilation between opposite walls keeps air moving without blasting cold drafts directly onto roosting birds.
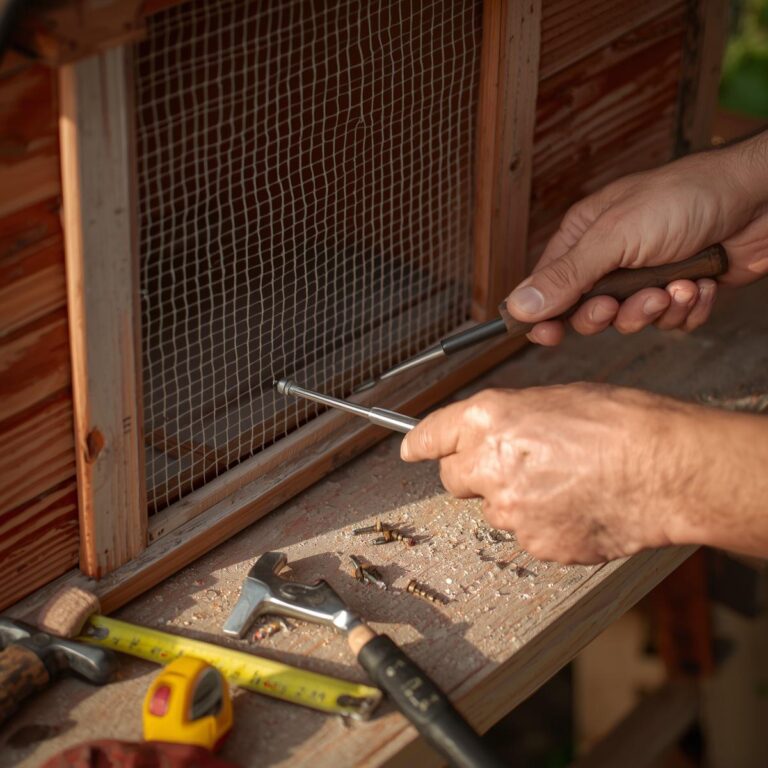
Cover every vent opening with hardware cloth, not screen mesh — predators can chew through screen in minutes.
Predator-Proofing Your Coop
This is the step most first-time builders underestimate, and it’s the one part of do it yourself chicken coop plans you genuinely cannot skip.
| Threat | Defense |
|---|---|
| Tearing through walls | 1/2 hardware cloth, not chicken wire |
| Clever paw latches | Carabiner-locked or padlocked doors |
| Digging under walls | 12-18 buried wire apron |
| Aerial predators | Covered or meshed run roof |
Siding and Finishing Touches
T1-11 plywood is the classic choice for do it yourself chicken coop plans because it’s affordable and easy to cut, though it needs regular sealing. Corrugated metal or vinyl siding cost more upfront but need almost no maintenance afterward.
Whatever you choose, seal every seam with exterior caulk and finish exposed wood with a UV-resistant paint or stain to prevent premature rot.
Ongoing Maintenance
- Scrape dropping boards weekly.
- Replace nesting bedding monthly.
- Inspect hardware cloth and latches every season for rust or gaps.
- Deep clean and disinfect the whole interior twice a year.
Choosing Your Floor System
The floor is the part of do it yourself chicken coop plans that gets the most daily wear, yet it’s often an afterthought. A weak floor invites moisture, parasites, and eventually rot — three problems that can undo months of careful framing in a single wet season.
Plywood Subfloor Basics
Most do it yourself chicken coop plans call for 3/4-inch exterior-grade plywood as the base layer. This thickness resists sagging under the weight of bedding, feeders, and the birds themselves, even as moisture levels rise and fall with the seasons.
Topping Options
Linoleum or vinyl flooring glued over the plywood makes cleaning dramatically easier. Instead of scrubbing porous wood, you simply scrape off debris and wipe the surface down — a five-minute job instead of a half-hour one.
| Floor Layer | Material | Main Advantage |
|---|---|---|
| Subfloor | 3/4 exterior plywood | Load-bearing strength |
| Top layer | Linoleum or vinyl | Fast, easy sanitation |
| Bedding | Pine shavings or straw | Absorbs moisture and odor |
Door and Run Design
A well-designed door is a small detail in do it yourself chicken coop plans that makes every single day easier. Builders who skip this step often end up crouching to collect eggs or wrestling with a door that swells shut every time it rains.
Human Access Doors
For walk-in style builds, a full-height door lets you stand upright while cleaning or collecting eggs. For smaller coops, a hinged side panel works just as well and uses far less lumber.
Pop Doors for the Flock
A small pop door, roughly 12×12 inches, lets your hens move freely between the coop and the run each morning. Many do it yourself chicken coop plans now include a simple pulley or pre-built automatic door kit so you don’t have to manually open and close it every single day.
Run Construction
Frame the run the same way you framed the coop walls — pressure-treated posts, diagonal bracing at the corners, and hardware cloth stapled tightly across every opening. A covered run roof, even a partial one, keeps feed dry and discourages hawks from circling overhead. For a beginner-friendly blueprint that already includes a run, see our easy DIY coop plans with run.

Insulation and Climate Control
Not every region needs insulation, but if you’re building in a cold climate, this section of your do it yourself chicken coop plans deserves real attention. Over-insulating, however, can trap moisture just as badly as under-insulating — the goal is balance, not maximum R-value.
Cold Climates
In areas with hard winters, a layer of rigid foam board between the studs helps retain body heat from the flock itself, which is often enough to keep the interior above freezing without supplemental heating.
Hot Climates
In warmer regions, do it yourself chicken coop plans should prioritize shade and airflow over insulation. Reflective roofing, generous ventilation, and a shaded run matter far more than wall insulation when summer heat is the bigger threat.
Budgeting Your Build
One of the biggest advantages of do it yourself chicken coop plans is cost control. Unlike a fixed-price kit, you can adjust material grades up or down depending on what your budget allows that month.
| Budget Tier | Typical Materials | Estimated Cost (4-6 hens) |
|---|---|---|
| Economy | Standard lumber, asphalt shingles, chicken wire upgraded to hardware cloth | $150-$220 |
| Standard | Pressure-treated frame, T1-11 siding, metal roof panels | $250-$400 |
| Premium | Cedar siding, linoleum flooring, automatic pop door | $450-$700 |
Whichever tier you choose, resist the temptation to cut costs on hardware cloth or latches. Every other line item in do it yourself chicken coop plans is replaceable; a predator break-in is not.
Common Mistakes to Avoid
After reviewing dozens of backyard builds, a handful of mistakes show up again and again in failed or struggling do it yourself chicken coop plans. Avoiding these alone will put your build ahead of most first attempts.
- Building directly on bare soil without any gravel or skid base, leading to floor rot within two years.
- Using standard chicken wire instead of hardware cloth, leaving the structure vulnerable to predators.
- Skipping diagonal bracing, which lets the frame rack and lean after the first major storm.
- Sealing the coop too tightly, which traps ammonia and moisture instead of letting it vent out.
- Underestimating flock size growth — most keepers end up with more birds than they originally planned for.
Tools Checklist Before You Start
Before breaking ground on any do it yourself chicken coop plans, run through this checklist so you’re not making mid-project hardware store runs.
- Circular saw and spare blades
- Impact driver with multiple driver bits
- Carpenter’s level and string line
- Tape measure and speed square
- Staple gun for hardware cloth
- Safety goggles, gloves, and a dust mask
For a broader rundown of basic carpentry tools, the This Old House tool guide is a useful free reference if you’re building your toolkit from scratch.
Seasonal Adjustments for Do It Yourself Chicken Coop Plans
A coop that works well in July can struggle in January if your do it yourself chicken coop plans don’t account for seasonal swings. Smart builders design in a little flexibility from the start rather than retrofitting fixes every few months.
Spring and Summer Adjustments
Warm months call for maximum airflow. Many keepers add hinged window panels that can be propped fully open in summer and closed down to a screened gap in winter. This single adjustable feature does more for comfort than almost any other detail in do it yourself chicken coop plans.
Fall Prep
Before the first frost, inspect every seam, vent cover, and door gasket. Small gaps that let in a cool breeze in October can become serious drafts by December, so fall is the right time to caulk, weatherstrip, and tighten hardware throughout the structure.
Winter Care
Deep litter bedding works double duty in winter — it absorbs moisture and slowly composts, releasing a small amount of heat as it breaks down. Combined with good ventilation near the roofline, this keeps even uninsulated coops well above outdoor temperatures.
| Season | Priority | Quick Fix |
|---|---|---|
| Spring | Pest control | Refresh bedding, check for mites |
| Summer | Airflow | Open window panels, add shade cloth |
| Fall | Sealing gaps | Caulk seams, check weatherstripping |
| Winter | Moisture control | Deep litter method, ventilate roofline |
Scaling Up: Adding On Later
Flocks tend to grow. It’s worth designing your do it yourself chicken coop plans with at least one removable wall panel or expansion point, so that adding a second nesting box section or extending the run doesn’t mean tearing the whole structure apart.
Builders who plan one modular wall from day one save themselves a full weekend of demolition work later — and the extra lumber for that flexibility usually costs less than $40 upfront.
Final Inspection Before Move-In
Before your flock moves in, walk the entire structure one more time with this short list in hand. It’s the last checkpoint in any set of do it yourself chicken coop plans, and it catches the small issues that are easy to miss mid-build.
- Every screw head is flush and no sharp points protrude inside the coop.
- All hardware cloth edges are folded over and stapled, not left raw.
- Doors close fully and latches engage without forcing.
- No gaps larger than 1/2 inch remain anywhere along the base.
- Roosting bars and nesting boxes are securely anchored, not just resting in place.
Conclusion
Solid do it yourself chicken coop plans turn a backyard project into a structure that protects your flock for a decade or more. Get the sizing, foundation, flooring, and predator-proofing right, and everything else — siding, paint, decoration — is just a matter of taste.
Ready to start building? Check out our easy DIY chicken coop plans with run for beginners, or browse the full shop for more designs.
Frequently Asked Questions
Are do it yourself chicken coop plans actually cheaper than buying a kit?
Yes. A DIY build typically costs 40-60% less than a comparable retail kit, mainly because you avoid the markup on pre-cut, branded materials and can shop sales on lumber and hardware yourself.
How much does it cost to build a coop from scratch?
A basic coop for 4-6 hens generally runs $150-$400 in materials, depending on local lumber prices and whether you choose budget siding or premium options like cedar.
Do I need carpentry experience to follow these plans?
No. Most do it yourself chicken coop plans are designed for beginners and only require basic skills — measuring, cutting straight lines, and driving screws. A weekend and a circular saw are usually enough.
What’s the biggest mistake first-time builders make?
Skipping predator-proofing. Standard chicken wire and simple slide latches are not enough to stop raccoons, which are strong and dexterous enough to open basic hardware within minutes.
How long does it take to build a coop from these plans?
Most backyard builders following do it yourself chicken coop plans finish a small to medium coop in one full weekend, or two evenings plus one weekend day if working part-time.