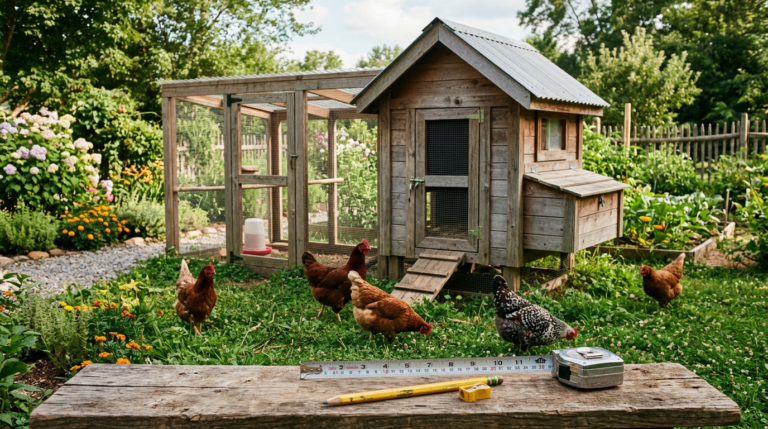
How to Build a Chicken Coop for Under $100 with Pallets
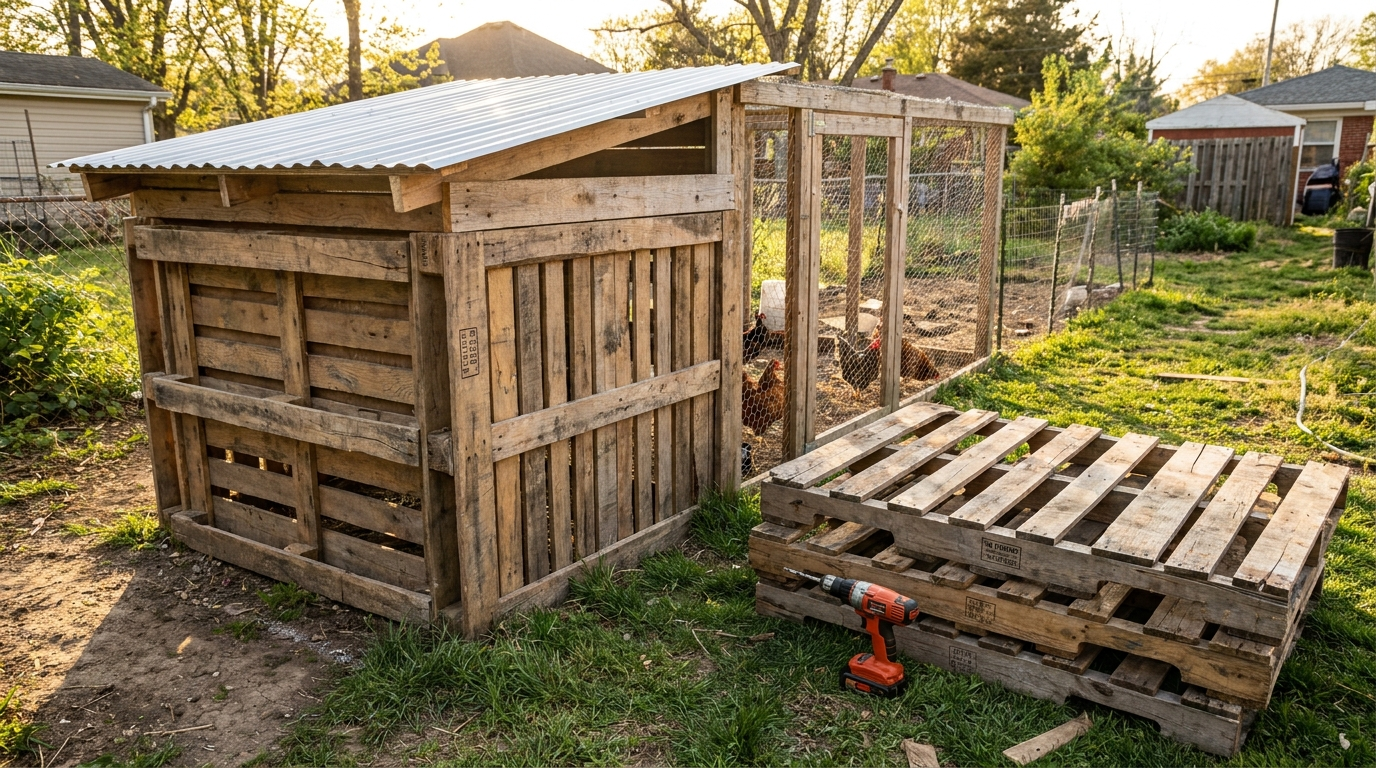 pallets” width=”1376″ height=”768″ loading=”lazy”>
Last updated: August 2, 2026 · CoopCraftsPro If pallets aren’t available, see our guide to the best wood for chicken coops for a $63 hybrid build using cedar and plywood.
Short answer: A pallet chicken coop for five to six hens costs roughly $85 to $125, with hardware cloth the single largest expense at $35 to $50. Pallets are usually free from garden centres and feed stores. Use only pallets stamped HT, KD, or DB – never MB, which is fumigated with methyl bromide.
A decent manufactured coop for six hens runs several hundred dollars, and the cheap ones fall apart in two seasons. Meanwhile, people are building better coops out of free pallets for the price of screws, hardware cloth, and roofing.
This is a realistic look at building a pallet coop for under $100 – what it actually costs, which pallets are safe, and where cutting costs will cost you a flock.
A Realistic Budget
Here is where the money actually goes on a 4×6 pallet coop for five or six hens:
| Item | Cost | Notes |
|---|---|---|
| Pallets (6-8) | $0 | Free from local businesses |
| 1/2″ hardware cloth, 25 ft roll | $35-50 | Do not economize here |
| Exterior screws (1 lb) | $10 | Deck or exterior grade |
| Fender washers | $5 | For mesh attachment |
| Roofing (metal panel or shingles) | $20-30 | Often free secondhand |
| Hinges and 2 two-step latches | $15 | Raccoon-rated |
| Exterior paint or sealer | $0-15 | Mis-tint at hardware stores |
| Total | $85-125 | Under $100 with scrounging |
Notice the largest single line is hardware cloth. That is correct and it should stay that way. The wire is the part standing between a raccoon and your hens; the walls are just walls.
Where to Get Free Pallets
Pallets are everywhere once you start looking:
- Garden centers and landscape supply yards – often the cleanest, and used to giving them away
- Hardware and building supply stores
- Feed stores and farm supply
- Furniture and appliance retailers
- Small manufacturing and industrial parks
- Online classifieds under free listings
Always ask. Pallets stacked behind a building may still belong to a return pool, and taking those is theft. A manager will usually tell you plainly which pile is free.
Read the Stamp Before You Build
This part matters for your birds and your eggs. International shipping pallets carry an IPPC stamp with a treatment code:
- HT – heat treated. Safe. This is what you want.
- KD – kiln dried. Safe.
- DB – debarked. Safe on its own.
- MB – methyl bromide fumigation. Do not use. Toxic pesticide. Never for animal housing.
These codes come from the international ISPM 15 standard for wood packaging. As USDA APHIS documents, compliant pallets are either heat treated to a 56°C core temperature or fumigated with methyl bromide, and the stamp records which. Heat treatment is purely thermal, which is why HT pallets are safe to build with.
Unstamped pallets are typically domestic and untreated, which is generally fine. Skip any pallet with chemical staining, oil, or an unidentifiable spill – it lived a hard life and you do not know what it carried.
Building the Coop
Step 1: Break down some pallets, keep others whole
Whole pallets become your walls – they are already framed panels, which is the entire advantage. Break down two or three for decking boards to sheath gaps, build the floor surface, and frame the door. A reciprocating saw through the nails is far faster than prying.
Step 2: Build a level base
Set the coop on concrete blocks or gravel so wood is not sitting in soil. This is the difference between a coop that lasts eight years and one that rots in two. Raising it 12 inches or more also removes the crawl space predators like to nest in.
Step 3: Stand four pallets as walls
Screw them together at the corners, then add a vertical 2×4 in each corner for rigidity. Check for square before fixing everything.
Step 4: Close the gaps
Pallet slats have gaps, which is good for airflow and bad for weasels. Sheath the lower half of the walls solid with your broken-down boards, and leave the gaps high near the roofline as ventilation – screened with hardware cloth. That gives you the winter ventilation pattern you want: air leaving above the birds, no draft at roost height.
Step 5: Roof with a slope
A single slope is easiest. Drop the back wall a few inches lower than the front and run panels front to back. Overhang the edges by 4 to 6 inches so rain runs clear of the walls.
Step 6: Wire everything, properly
Hardware cloth over every window, vent, and opening – screws and fender washers every 6 to 8 inches, never staples alone. Lay an 18 to 24 inch apron of hardware cloth flat on the ground around the perimeter and stake it down.
Step 7: Roosts, nests, and a two-step latch
Roost bars from 2x4s laid flat, 8 to 12 inches per hen, mounted higher than the nest boxes. One nest box per three to four hens. Every door gets a latch requiring two motions – a barrel bolt with a carabiner is a few dollars and defeats raccoons.
Whatever you build the walls from, the housing fundamentals do not change – see the extension overview of small-scale poultry housing for ventilation, roost, and nest requirements that apply to any coop.
Where Not to Save Money
Some economies cost more than they save:
- Chicken wire instead of hardware cloth. Saves about $25, and it is the reason most cheap coops eventually fail.
- Skipping the dig apron. Free to add during the build, expensive to add after a loss.
- Cheap latches. Raccoons open hook-and-eye latches routinely.
- Building on bare soil. Rot and digging, both avoidable.
- Building too small. The most expensive economy of all – you will rebuild.
What a Pallet Coop Does Well, and What It Does Not
Honest expectations: a well-built pallet coop is sturdy, cheap, and highly repairable – individual boards swap out easily. It will look rustic. It takes more labor than a coop built from dimensional lumber because you are dismantling and fitting reclaimed wood rather than cutting to a list.
If you want a precise, fast build with a clean finish, buy lumber and follow a cut list. If you want a solid coop for the cost of the wire and screws, pallets are hard to beat.
Frequently Asked Questions
Are wooden pallets safe for building a chicken coop?
Pallets stamped HT (heat treated), KD (kiln dried), or DB (debarked) are safe. Never use pallets stamped MB, which indicates methyl bromide fumigation – a toxic pesticide unsuitable for animal housing.
What does the HT stamp on a pallet mean?
HT means heat treated. The pallet was sterilised with heat rather than chemicals, making it safe for coop building. KD (kiln dried) and DB (debarked) are also safe.
Where can I get free pallets?
Garden centres, landscape supply yards, hardware and building supply stores, feed stores, furniture and appliance retailers, and small industrial parks. Always ask first, since some pallets belong to paid return pools.
How much does a pallet chicken coop actually cost?
Around $85 to $125 for a 4×6 coop housing five or six hens. Pallets are free; the cost is hardware cloth ($35-50), screws and washers ($15), roofing ($20-30), and latches and hinges ($15).
What should you not cut costs on when building a cheap coop?
Hardware cloth, the dig apron, and the door latches. Substituting chicken wire saves about $25 and is the most common reason budget coops eventually fail against predators.
The cost of a coop has very little to do with how well it protects a flock. Spend on the wire, the latches, and the apron. Get the walls for free.