How to Build a Chicken Dust Bath: DIY Guide + Best Materials
If you’ve ever watched a chicken fling dirt over its back with wild abandon, wings splayed and eyes half-closed in what looks like pure bliss, you’ve witnessed one of the most important — and most underrated — parts of chicken care. Dust baths aren’t a quirky habit; they’re essential hygiene. Here’s everything you need to build one your flock will actually use.
Why Chickens Need Dust Baths
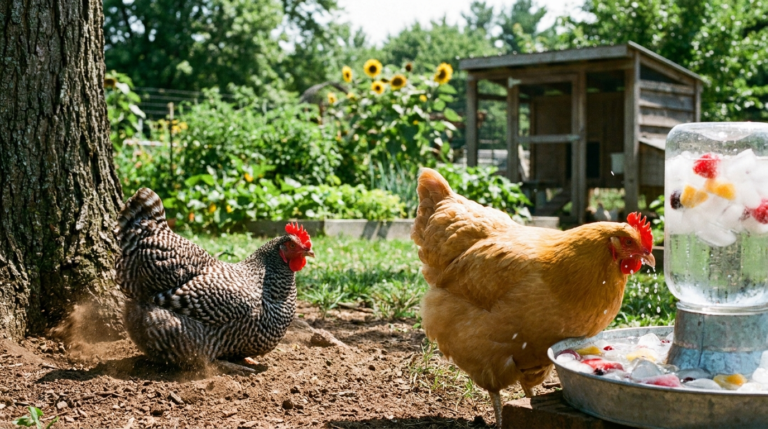
Chickens can’t take a shower or use soap, so dust bathing is their built-in substitute. By working fine, dry particles deep into their feathers and skin, then shaking it all out, chickens strip away excess oil, dead skin, and — most importantly — external parasites like mites and lice. It’s also a social and comfort behavior; hens often dust bathe together in a sunny spot as a bonding ritual, and a chicken denied dust bath access will actively seek out any dry patch of dirt it can find, including your prized flower beds.
The Parasite Prevention Connection
This is the biggest practical reason to prioritize a dust bath area. Mites and lice thrive in feathers and around the vent, and left unchecked they cause feather loss, anemia, reduced egg production, and serious stress on your birds. Fine dust works into feather shafts and around the skin, physically suffocating and dislodging these parasites in a way that’s completely natural and chemical-free. A flock with reliable dust bath access is meaningfully less likely to develop a serious infestation than one without.
Choosing a Container: Your Best Options
You don’t need anything fancy — chickens aren’t picky about the container, only about what’s inside it. Here are the most popular options, ranked by cost and durability:
Old Tire
A classic. Lay a tire flat, fill the center with your dust mix, and you’ve got a contained, low-cost bath that keeps material somewhat corralled. Downsides: tires can hold water if not covered, and the rubber can get hot in direct sun.
Kiddie Pool
A cheap plastic kiddie pool offers a lot of surface area for multiple birds at once and is easy to drag into shade or storage. Drill a few drainage holes in the bottom if it will be outside so rain doesn’t turn your dust into mud.
Wooden Frame Box
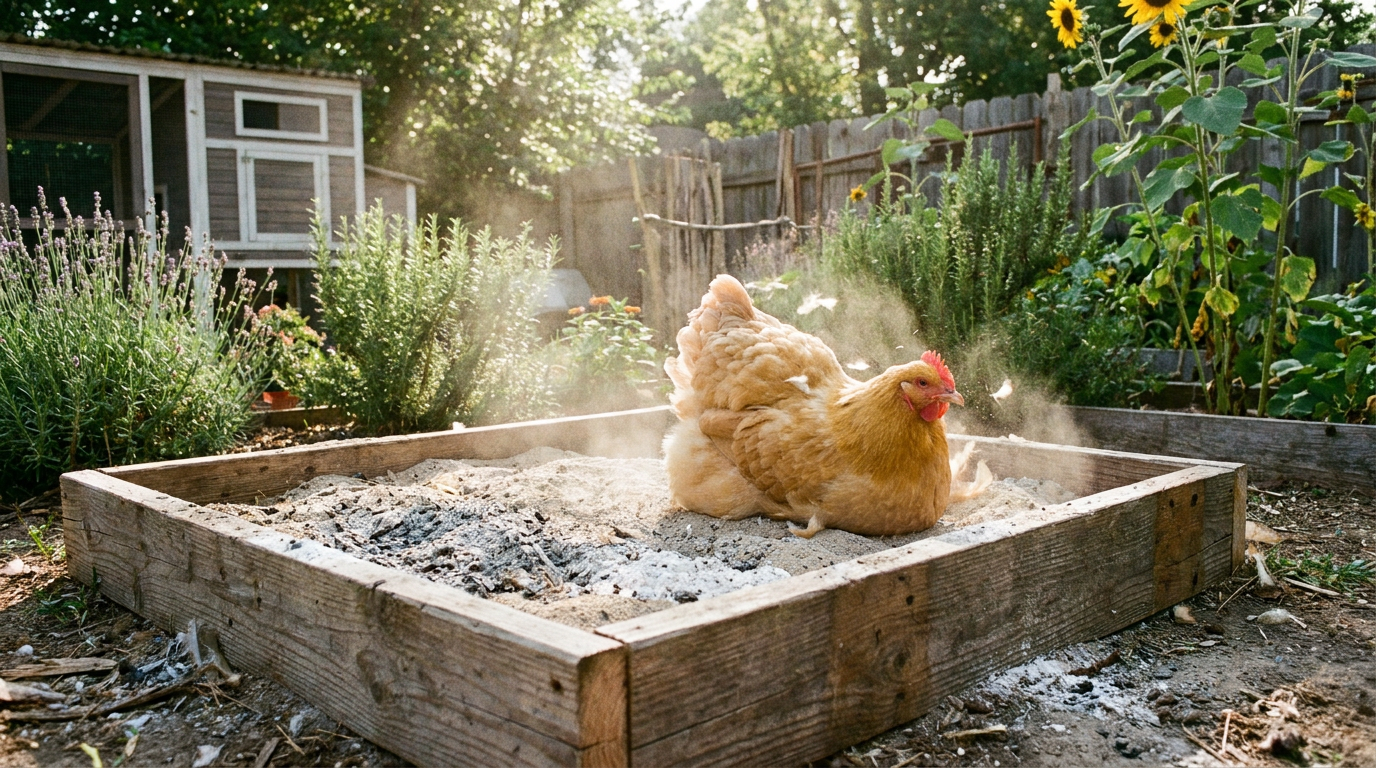
Build a simple rectangular frame (roughly 2×3 feet, 8–12 inches deep) from scrap lumber. This is the most attractive, most durable option and can be built to match your existing coop. If you already have material and tools out from a coop build, check our chicken coop and run plans for framing techniques you can scale down for a dust bath box.
Repurposed Livestock Trough or Large Planter
Anything with 8+ inches of depth and enough surface area for 2-3 birds to bathe simultaneously works. Just make sure there are no sharp edges and, if it’s metal, that it won’t get scorching hot in direct summer sun.
The Ideal Dust Bath Recipe
The container matters less than what goes in it. A well-built dust bath mix should have fine, powdery texture and pest-fighting properties. Here’s a tried-and-true recipe:
- Base: play sand or fine dry dirt (50%) — provides bulk and the fine grain chickens work into feathers
- Diatomaceous earth, food grade only (10-15%) — mechanically dehydrates and kills external parasites; always use food-grade DE, never pool-grade, and mix it in rather than leaving it in a concentrated layer to reduce respiratory irritation from dust
- Wood ash from untreated wood (20%) — natural in chicken dust baths for centuries, wood ash has drying and mildly insecticidal properties
- Dried herbs (10-15%) — dried lavender, mint, or rosemary add a mild natural pest-deterrent and smell great when disturbed; not essential but a nice bonus
Mix these together thoroughly before adding to the container. Avoid using clay-heavy garden soil, as it clumps when damp and doesn’t provide the same fine, powdery texture chickens are after.
Placement Tips
Where you put the dust bath matters almost as much as what’s in it.
- Choose a well-drained spot. A dust bath that turns to mud after rain is useless and can breed bacteria.
- Offer both sun and shade options if space allows. Chickens often prefer a sunny dust bath in cooler months and a shaded one in summer.
- Keep it away from the coop’s food and water stations to avoid dust contaminating feed.
- Provide more than one bath for larger flocks. A single dust bath can only accommodate 2-3 birds comfortably; flocks of 10+ benefit from two or more stations to reduce competition and pecking order conflicts.
Covered vs. Uncovered: Which Is Better?
Both have a place. An uncovered dust bath in a sunny spot lets chickens combine dust bathing with sunbathing, which they clearly enjoy and which may help with vitamin D synthesis. A covered dust bath — under a simple lean-to roof or inside a covered run — stays usable in all weather and won’t turn into mud after a storm. If you can only build one, a covered option is more reliable year-round, but if your run has both a sunny patch and a covered section, offering a bath in each gives your flock the best of both worlds.
Maintenance: Keeping the Dust Bath Effective
A neglected dust bath quickly turns into a compacted, droppings-filled mess that chickens will avoid. Keep it working with regular upkeep:
- Sift or stir the mixture weekly to break up clumps and redistribute settled material
- Remove visible droppings as you spot them
- Top off with fresh sand, DE, and wood ash roughly once a month, or sooner if the flock uses it heavily
- Fully replace the mix once or twice a year, or immediately if you notice a mite or lice outbreak in the flock
- Cover or move the bath after heavy rain if it’s an uncovered setup
Winter Dust Bath Solutions
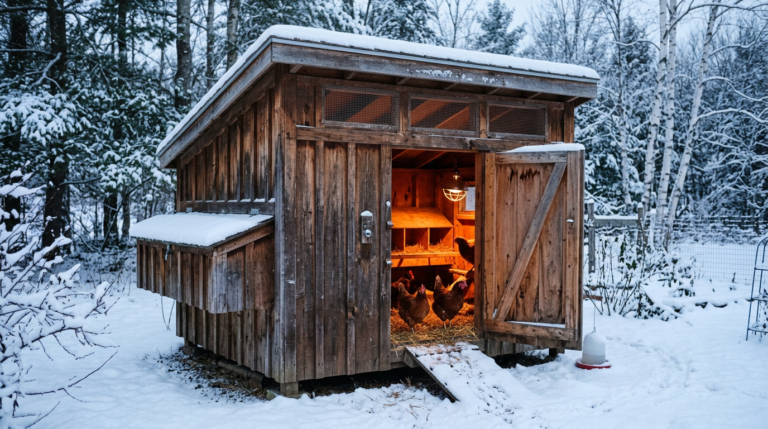
Cold, wet ground in winter isn’t a good dust bath surface, but chickens still need parasite control and enrichment through the colder months. Move the dust bath station indoors — a large plastic tub or wooden box placed in a dry corner of the coop works well, provided your coop has adequate winter ventilation to prevent moisture buildup from indoor dust bathing. Keep the winter mix slightly less dusty than summer (a bit more sand, a bit less loose ash) to minimize kicked-up dust in an enclosed space, and clean it out more frequently since ventilation is naturally reduced in cold weather. This pairs well with the broader steps in our guide to winterizing your chicken coop.
Signs Your Dust Bath Setup Needs Improvement
- Chickens digging holes in the run or garden instead of using the provided bath
- Visible mites, lice, or excessive feather loss despite having a dust bath
- Fighting or crowding around a single dust bath station
- Bath material staying damp or compacted for more than a day after rain
Any of these signal it’s time to add a second station, improve drainage, or refresh your mix.
Final Thoughts
A dust bath is one of the cheapest, lowest-effort additions you can make to your setup, and the payoff — fewer parasites, healthier feathers, and visibly happier chickens — is enormous relative to the cost. Whether you go with a repurposed tire or a built wooden box, the formula for success is the same: fine dry material, good drainage, and a spot your chickens can claim as their own.